For coding agents
For developers using Claude Code, Cursor, Codex, or other coding agents. No SDK or Docker needed.1
Sign up and get your API key
Go to app.onecli.sh and create an account. A project and API key are generated automatically.
2
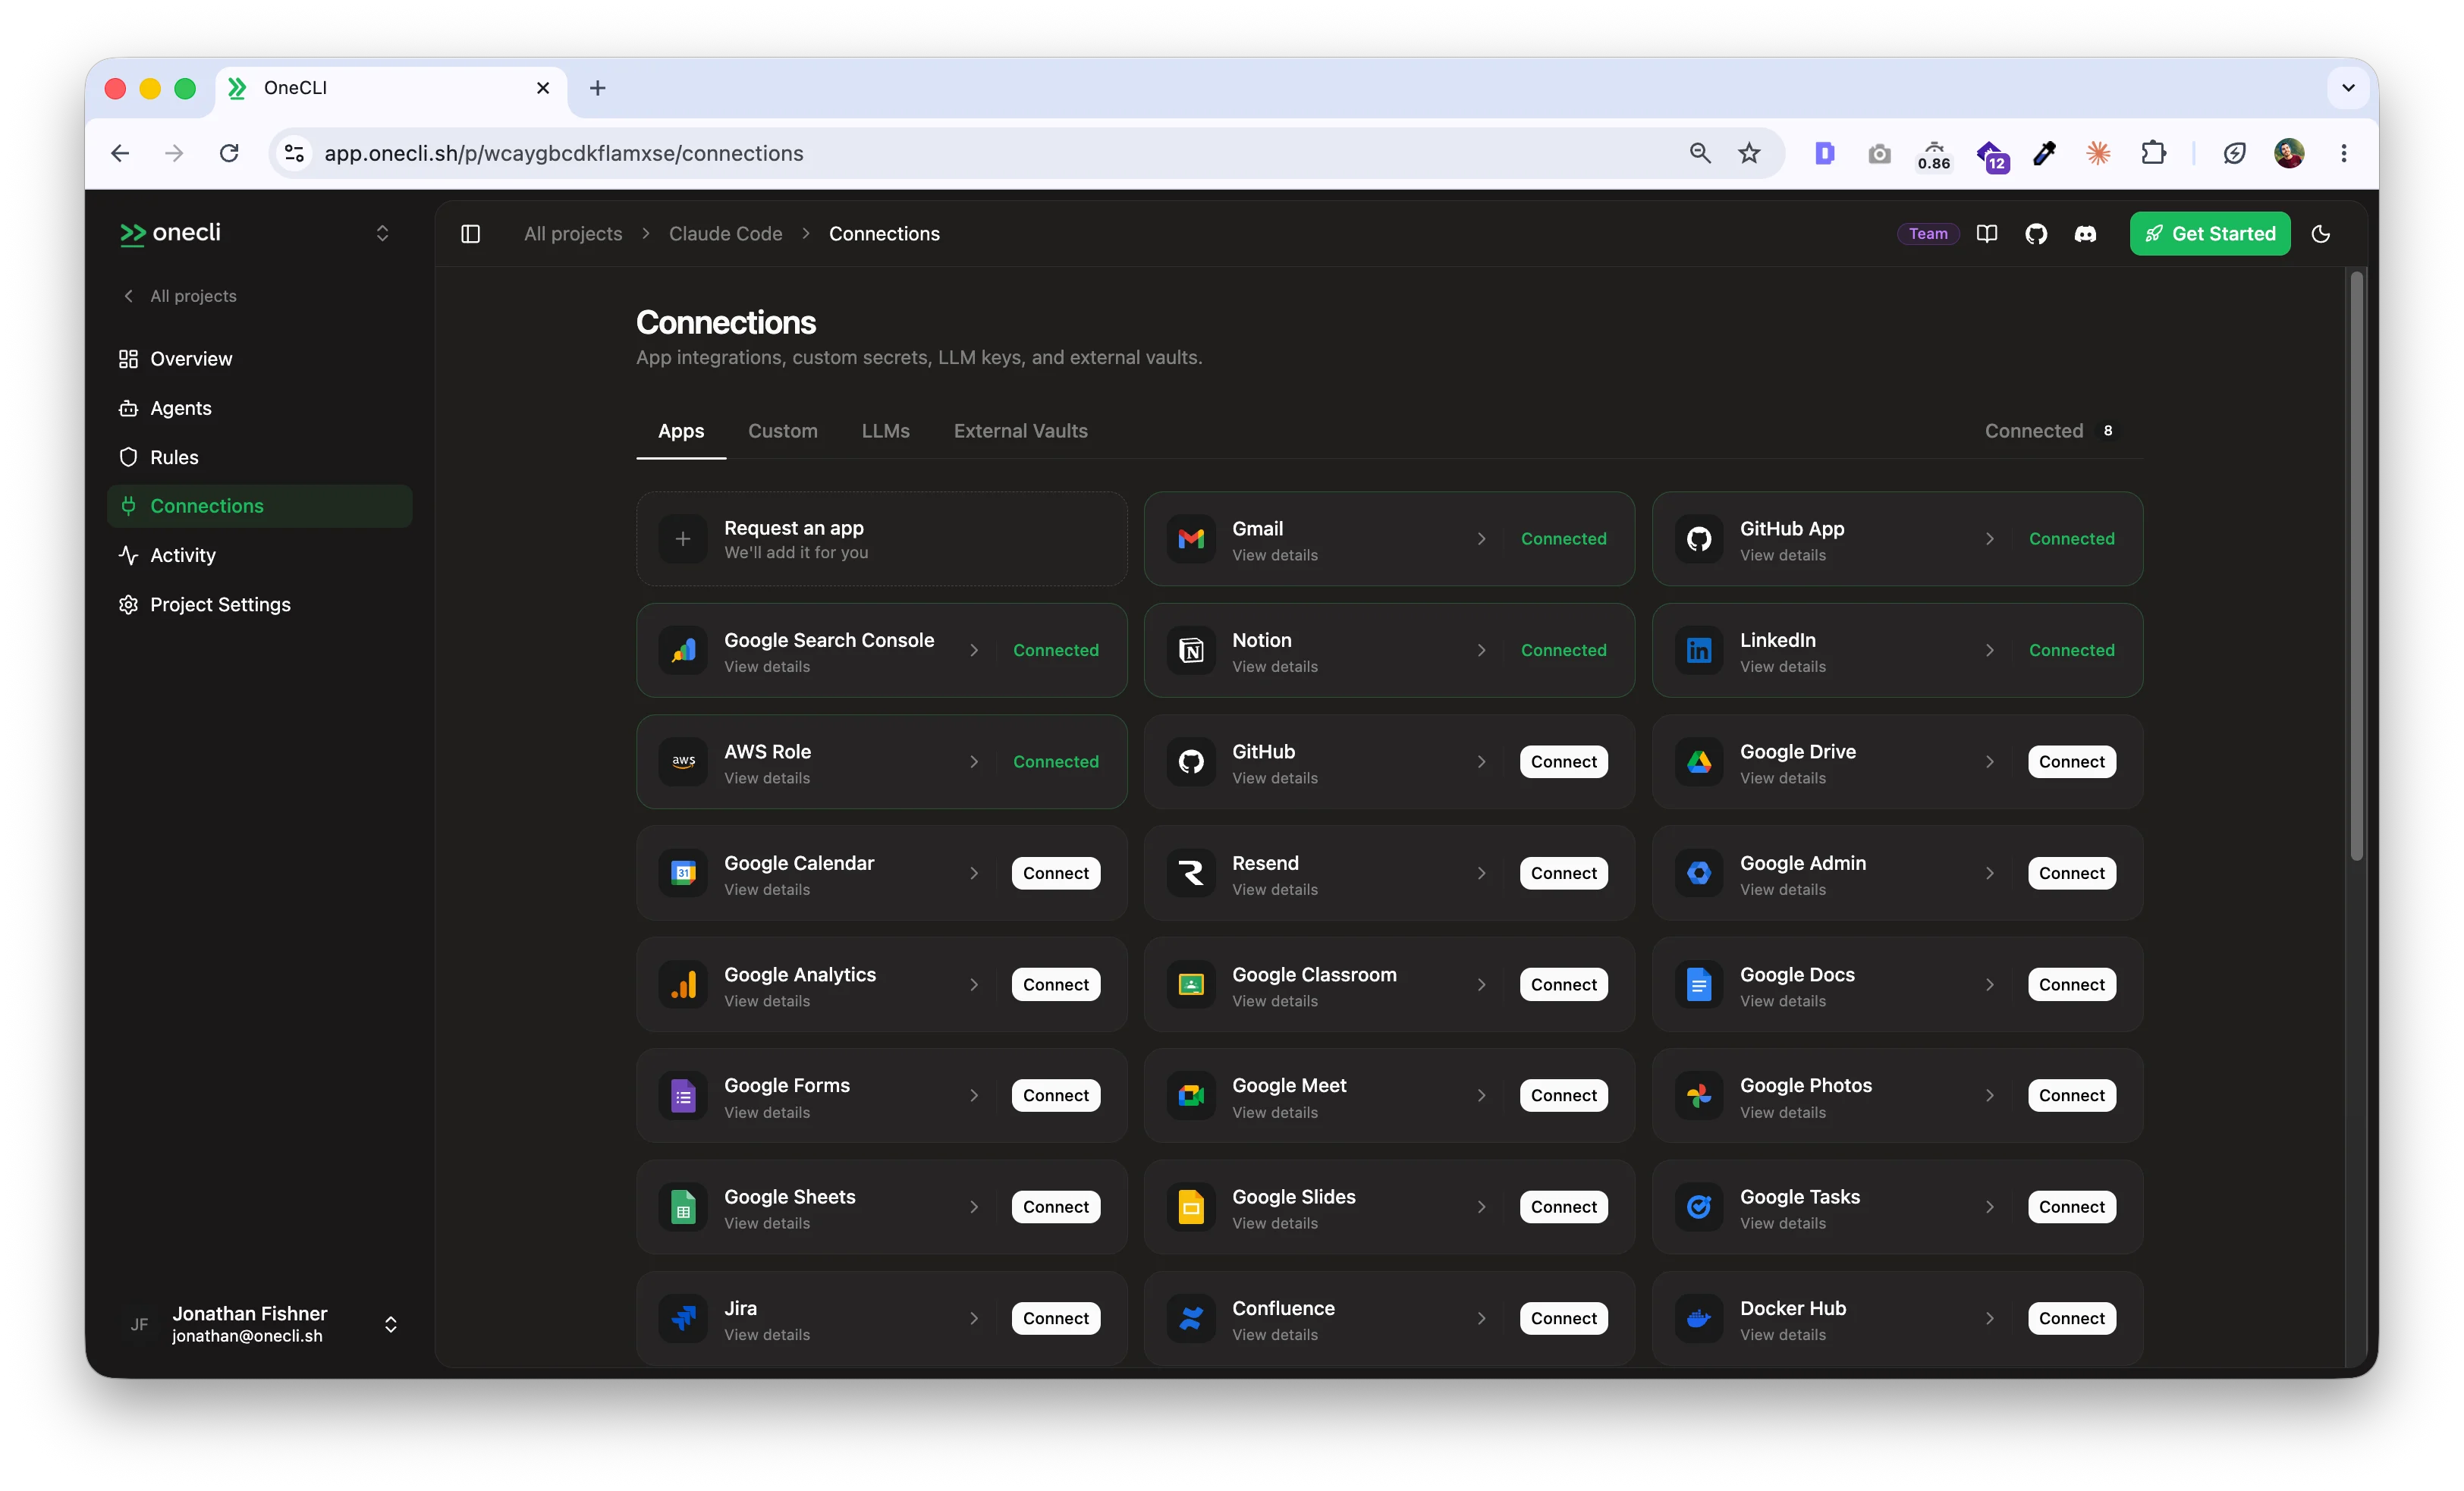
Connect services
From the dashboard, connect the services your agent needs (Google, GitHub, Slack, AWS, etc.). Most services connect with OAuth in one click.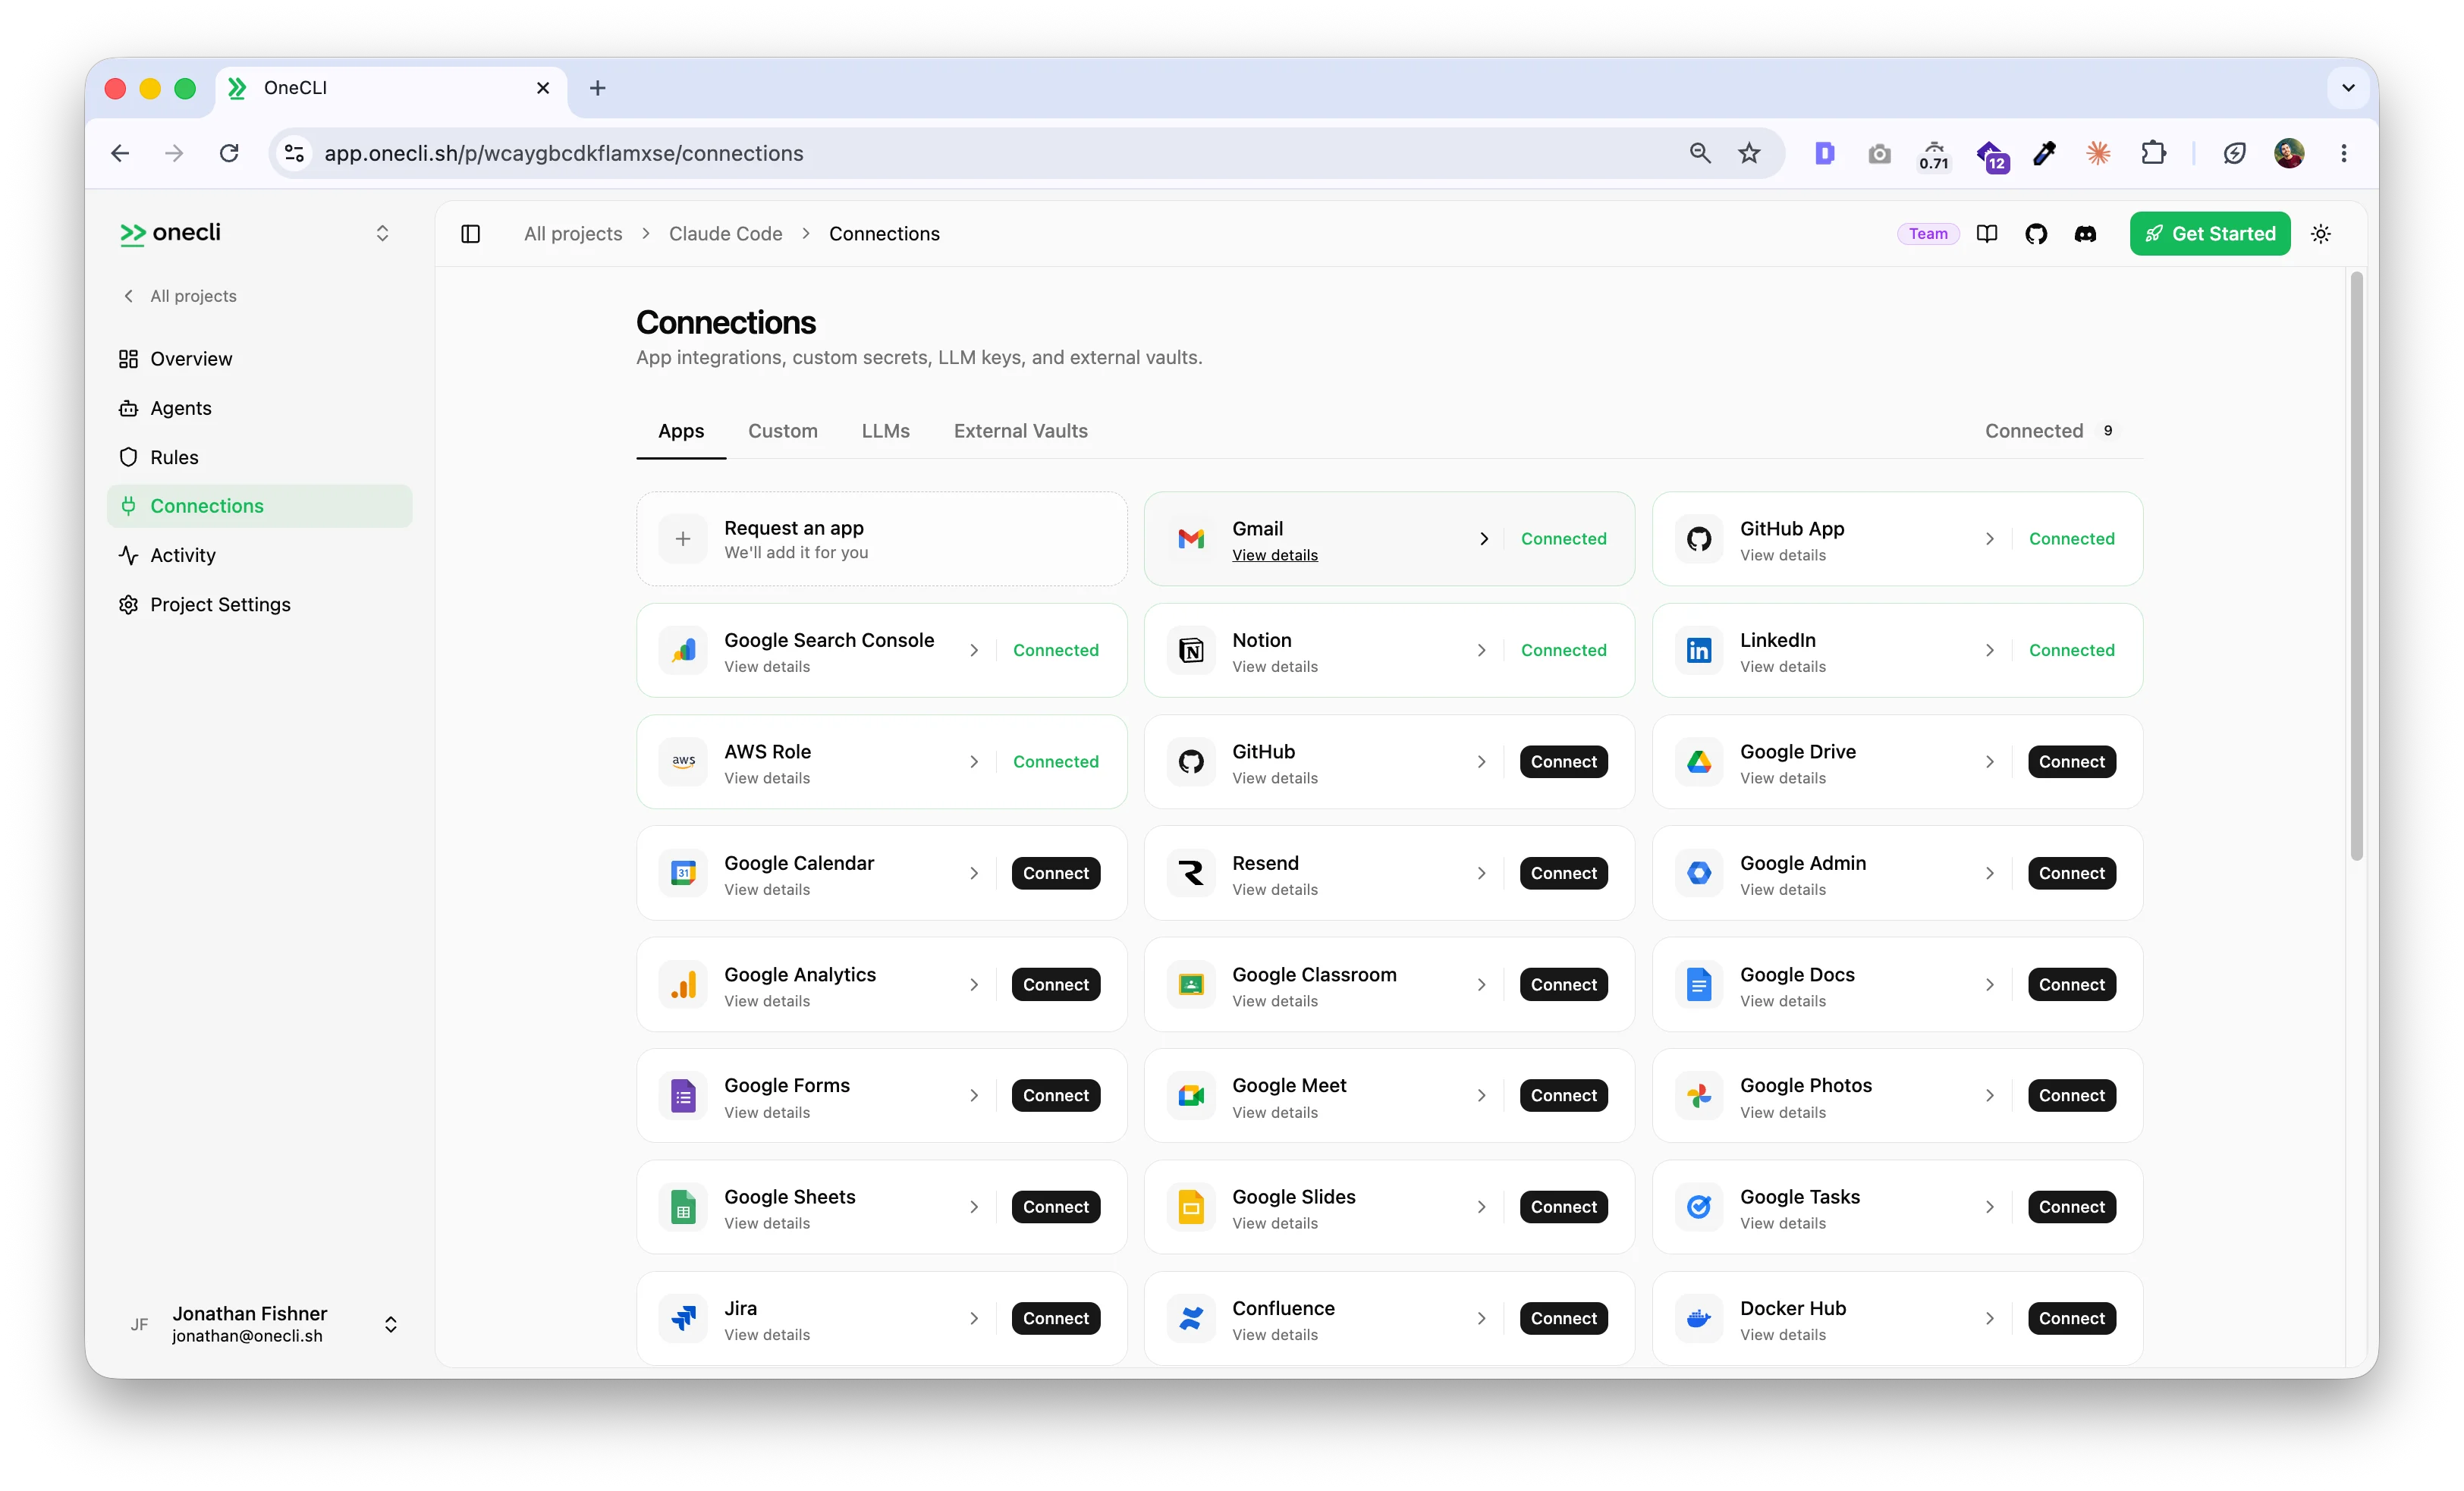
3
Install the CLI and run your agent
claude with your agent of choice:
For SDK and Docker agents
For agents running in Docker containers or programmatic setups. Use the SDK to configure containers automatically.1
Get your API key
Sign up at app.onecli.sh if you haven’t already. Your API key is available in the dashboard.You can also create agents programmatically via the API:
2
Install the SDK
3
Configure your container
url parameter needed — the SDK defaults to the managed service at api.onecli.sh.Self-hosting
OneCLI is also available as an open-source project you can run on your own infrastructure.Self-hosted setup with Docker
Self-hosted setup with Docker
url parameter:Next steps
You’ve connected your first agent. Now explore what else OneCLI can do:Rules
Block operations, rate-limit actions, and require manual approval per agent.
Integrations
Browse 30+ supported services and connect them from the dashboard.
How it works
Architecture: gateway, vault, rules, and how the pieces fit together.
API Reference
Manage agents, secrets, rules, and connections programmatically.
Troubleshooting
OAuth redirect goes to the wrong URL (self-hosted / remote setups)
OAuth redirect goes to the wrong URL (self-hosted / remote setups)
If you’re accessing a self-hosted OneCLI through an SSH tunnel, reverse proxy, or on a remote server, OAuth callbacks may redirect to an unreachable address.Set For SSH tunnel setups, forwarding to the same local port avoids this entirely:
NEXT_PUBLIC_APP_URL to the URL you actually use in your browser:Docker container won't start (self-hosted)
Docker container won't start (self-hosted)
Make sure Docker is running and ports 10254/10255 are available. Check logs with
docker logs <container-id>.